

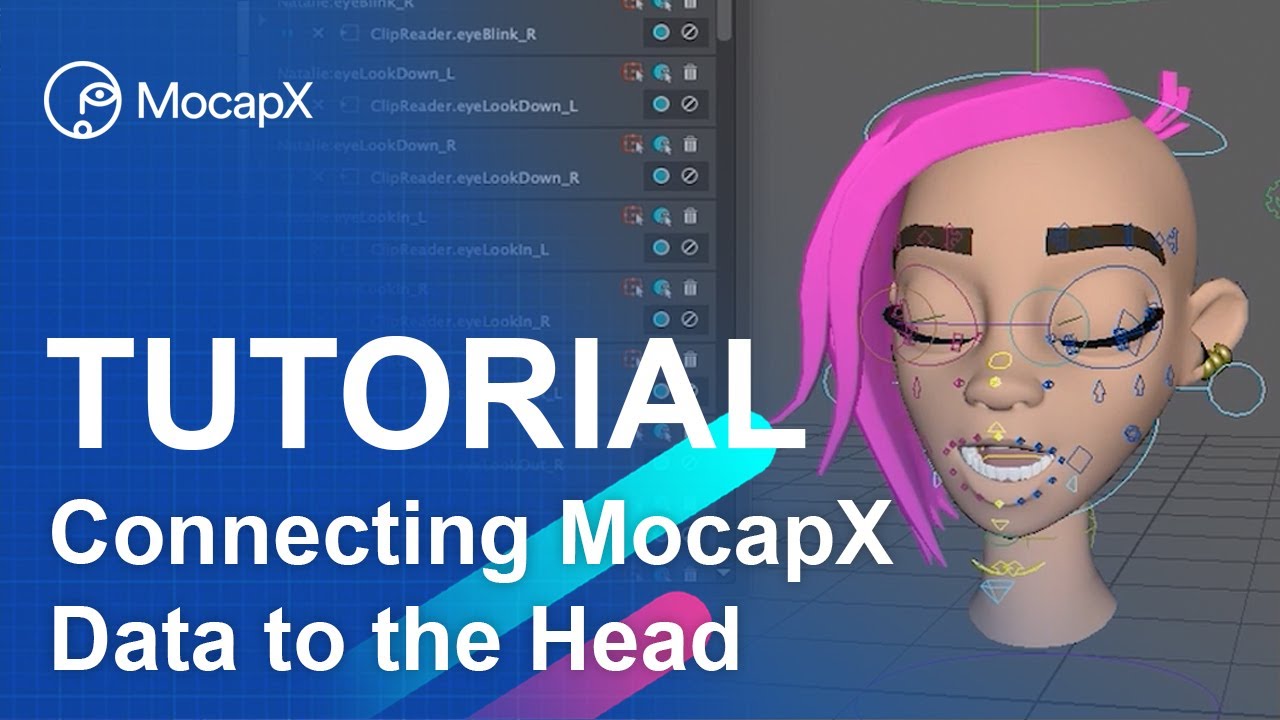
Tutorial – How to connect MocapX data to head controller on rig
TUTORIAL HEAD CONNECTION – Connecting MocapX facial motion data to the head in Maya
In this tutorial, we’re going to show you how to connect MocapX data to head rotation and translation.
1) First, create a demo rig by clicking on the head icon on the shelf. Then create a clip reader and load a clip. Now open a PoseLib editor. Use auto-connect to connect all poses to clip quickly. Now we have animation on the face, but we need to add the rotation and translation for the head.
2) Let’s open the connection editor. On the left side, we’re going to load the clip reader, and on the right side, we’re going to load the controller for the head.
Select the one that is responsible for head rotation. Now connect the rotations from clip reader to the controller. Now the rotation of the head works.
3) The next step is to connect the translate of the head. Let’s select the controller and connect the translate from the Clip reader. Now you can see that we have the movement of the head.
In this case, the motion is really small. So let’s make it bigger. First, we’re going to bake this controller. In graph editor, we’re going to scale the curves. By doing this, you can control the amount of motion. Also, you can do the same for rotation.