TUTORIAL – Zbrush blend shapes
Tutorial – Learn how to animate face from Zbrush and use it for facial motion capture
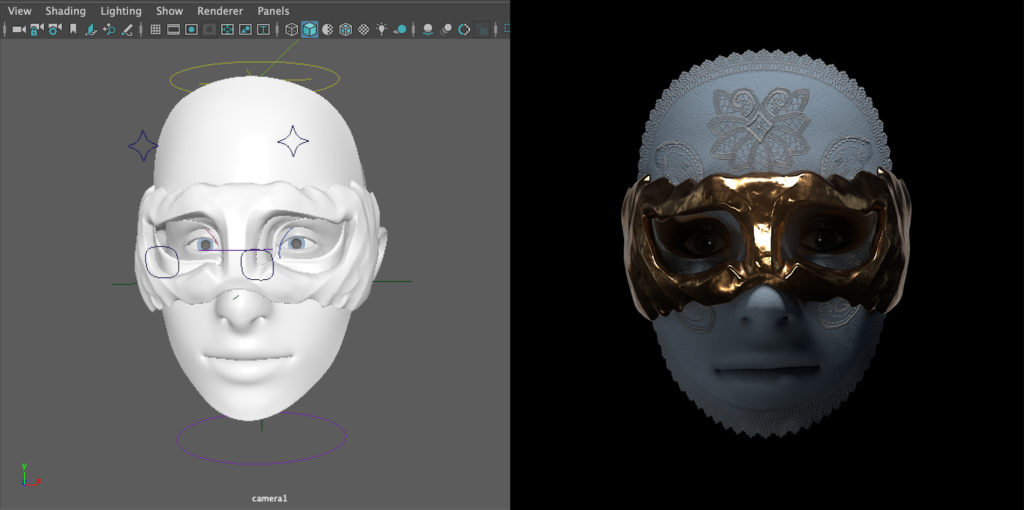
In today’s tutorial, we’re going show you how to create blendshapes in Zbrush or any other sculpting software and then bring these blendshapes back into Maya and connect them with MocapX.
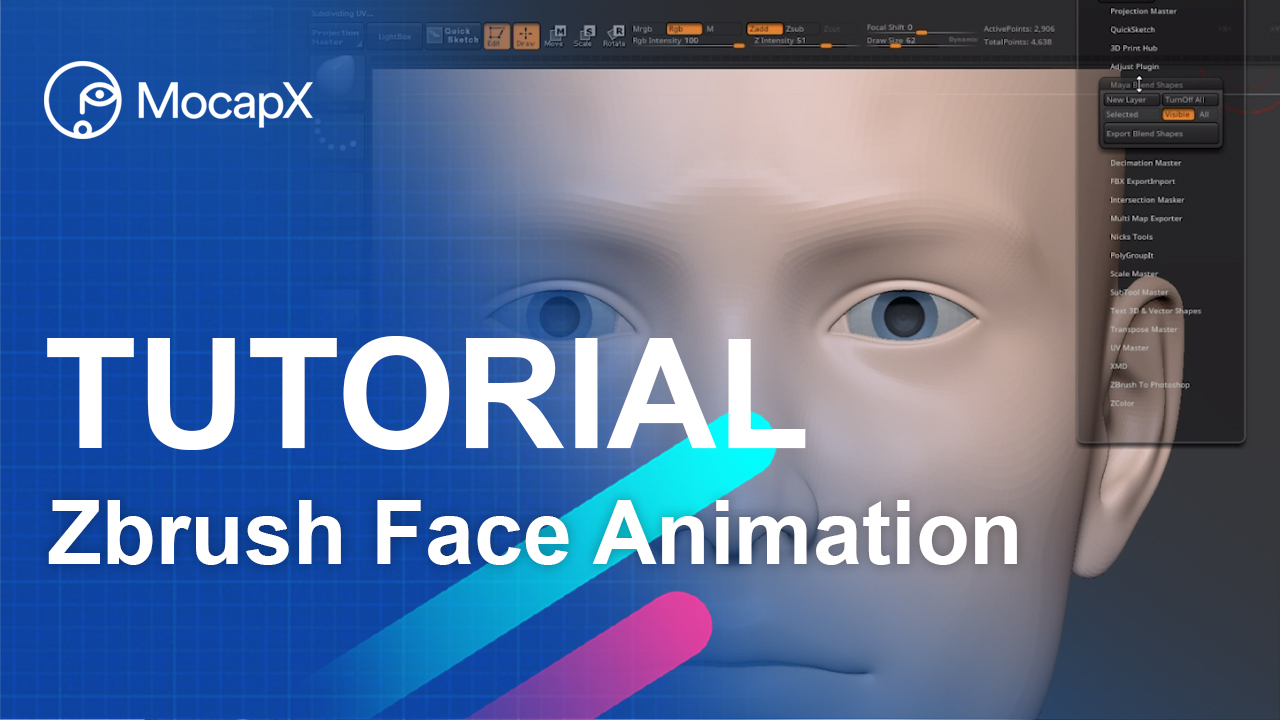
First, let’s open Zbrush with a sculpt of a basic head. We need to create blendshapes. Let’s go to Zplugins, and under Maya Blend Shapes, click create new. Now, if we go to the layers tab, we can see a new layer. Let’s rename this to eyeBlink_L.
Now we will shape the geometry. So let’s select the Move brush and shape the pose. If we are finished, we can see the blendshape by moving the slider. Let’s continue and create a blink for the right eye. So go to the blendshape tab. Click create new. Now we can see another layer. Let’s call it eyeBlink_R. Now let’s do the same for the right eye.
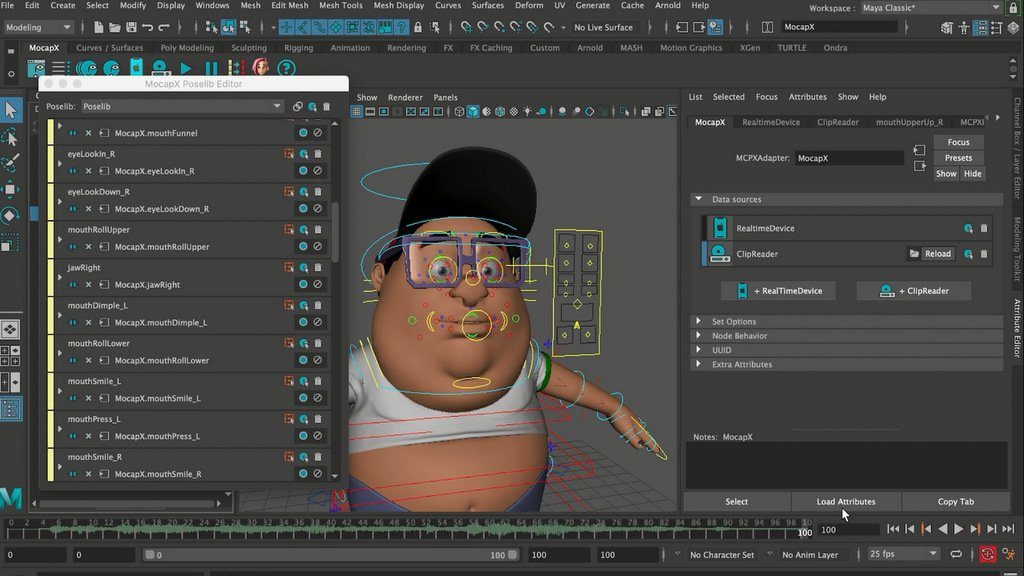
Now we are live streaming data to our character. Let’s add the head movement. So select the geometry and load it on the right side. Now we will connect: translate and rotate from the Real-Time device to our head. So we’ve added the translate and rotate.
The last step is to add the eye movement. Let’s select the left eye. Load it on the right side and connect the rotation from Real-Time. Now let’s do the same for the Right eye. Now lets record some data for the clip. Go to the Realtime device, select a 15 sec clip, and hit record. By doing this, we record the past 15 second to clip. Next, let’s preview the clip.
So we will select a Mocap node. Create a Clip reader and load that clip. If we go to the time slider, we can now scrub and see our clip. If we switch to Real-Time again, we’re still streaming from the iPhone. If we go back to the Clip reader and select the head, we can use our Baking tool for baking data from the clip to an fbx file. Now we can export this animation as an fbx to Unity or Render in Maya.
TUTORIAL – MocapX and Advanced Skeleton
Tutorial – Learn how to use MocapX and Advanced Skeleton rig
In this tutorial, we’re going to learn how to use the advanced skeleton rig or any other custom facial Rig together with MocapX. We will start by downloading an example Rig from the advanced skeleton page. You can use any of these rigs, but we’re just going to choose this one.
Now if we open Maya, we can see that the facial Rig has a combination of several different types of controllers. Some are on the face itself others are on a separate picker with other attributes such as blinking.
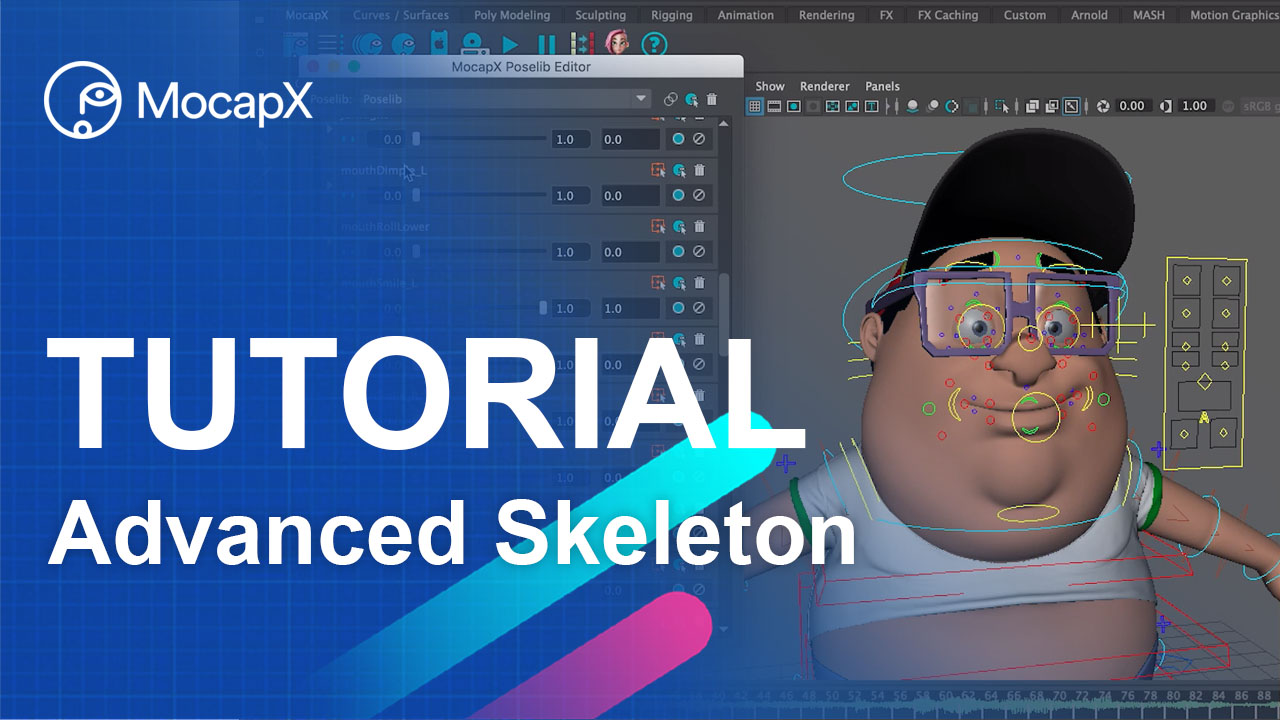
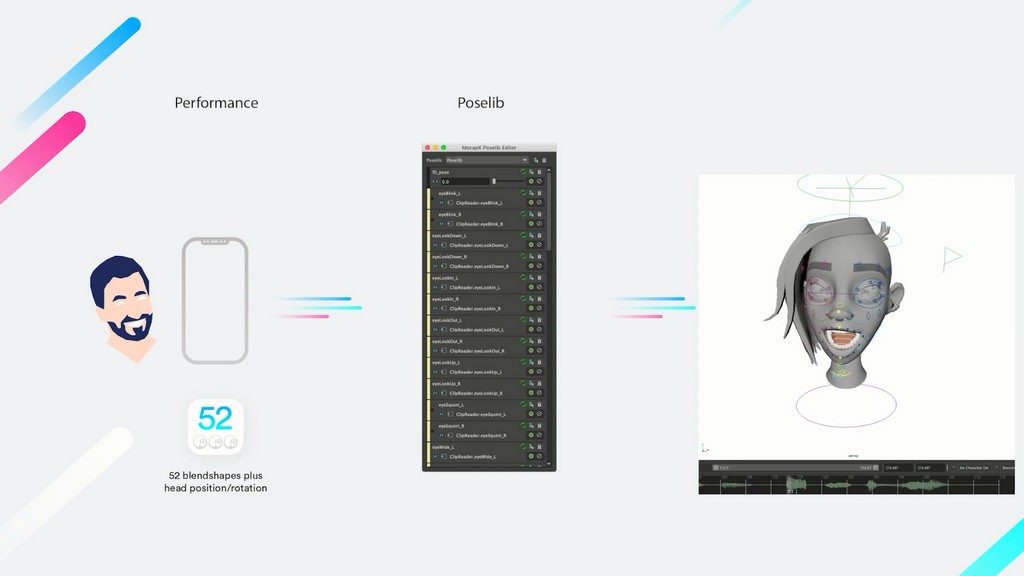
The way it works is that it transfers the facial expression which is captured on iPhone onto the Rig controllers. For this, we use the Poselib Editor to match these Expressions. The idea is that the rig should end up with keyframes directly on the controller’s just as an animator would use classic keyframe animation. This, in general, gives the animator a chance to work efficiently with the motion capture data and still have the ability to do keyframe animation.

So let’s start with creating poses for this character. Make sure that you have a natural or relaxed face with open eyes as your default pose. This will always be our Base pose. We’ll start by selecting all the controllers on the head and create an attribute collection which stores all the channels. Next, we will make our first pose which is a left eye blink. We’ll take the controller and shape the eye into a blink.
We can use all the controllers for the attribute collection. Once we are done, we can click the button for creating the pose. Now if we open the Poselib editor, the first pose is created. We can use the slider and move it to see our pose. Let’s rename it to EyeBlink_L.
Now let’s do the right eye. First, we need to go back to default. Now let’s shape the right eye blink and click the button again. Now we can see both our poses. It’s similar to blend shapes but done with controllers. If you name the poses according to the description, you can later use the auto-connect feature to match them with the data from your iPhone.
Let’s speed up the tutorial and open a scene where all our poses have already been set. If we open the Poselib editor we can see a list of all our poses.
So now we’re ready to create a real-time device. If we go to the attribute editor, we can choose either Wi-Fi or USB. If you have the MocapX app running just click on connect and Maya will connect the app. If we go to the Poselib editor now we can click on auto connect to preview data from the iPhone. Now we’re live streaming motion capture data directly into Maya and onto our character.
Next, we want to record some action. If we take a look at the real-time device in the attribute editor, there is a recording option. The way Mocapx works is it continuously record all the action, and you can make a clip and save it at any time.
So let’s make a clip that lasts about 10 seconds. Now let’s preview our clip. For this, we go to the MocapX node in the attribute editor and create a clip reader. Now we can switch between real-time and clip.
So let’s load the clip. If we go over our time slider, we can see the data plate on our character. Next, let’s and the head movement.
This time we will not use the Poselib editor, but we will directly connect the data to the character. So let’s open the connection editor. We’ll load the clip reader on the left and the controller on the right, which is responsible for the head rotation. Now, we simply connect translation and rotation. We’ve added the head rotation. Let’s add the translation as well. Now if we open the connection editor, we can connect our translation channels as well. We can see the head is moving forward too much. Let’s fix that.

MocapX has the ability to set keyframes over the motion capture data. We’ll select our controllers.Simply create a key and move the head into the correct position. We can also make multiple keyframes. This can be done for any controller. So for example, we can select the eyebrows. Find a frame where you want to fix the animations. We’ll add a keyframe to the start and another one to the end.
Now we’ll make a correction between those two keyframes. By doing this, the animator can quickly and easily tweak the animation. We can use a similar technique to connect the eyes as the head. For this, we have a separate tutorial.
The final step of working with MocapX is to bake the motion capture down. To bake the animation we use our baking tool. Simply select all the controllers for the head and press the bake button.
Now you can continue with any standard Maya animation tool. That’s it for this tutorial. Thank you for watching.
MocapX for MAYA 2019.1
We’re delighted to announce that as of today, MocapX is available for Autodesk Maya 2019.1.
New release is part of version 1.1.5 and it is available to download for Windows, Mac and Linux.
TUTORIAL – Quickly generate poses (script)
Tutorial – Learn how to quickly generate poses (facial expressions) for MocapX
In this tutorial, we are going to show you how to speed up the process of creating poses for MocapX motion capture app.
Typically you would start by selecting all of the controllers for the face and then creating attribute collection.
The next step would be to create the first pose. So let’s do eye left blink and name it. Continue with the right blink. This process could be time-consuming.
So let’s look at some of the tips about how to speed up this process.
1) Let’s open a scene where we have all the poses frame by frame in the timeline.
Please note that all of the poses have to be in the same order as they are described in the documentation.
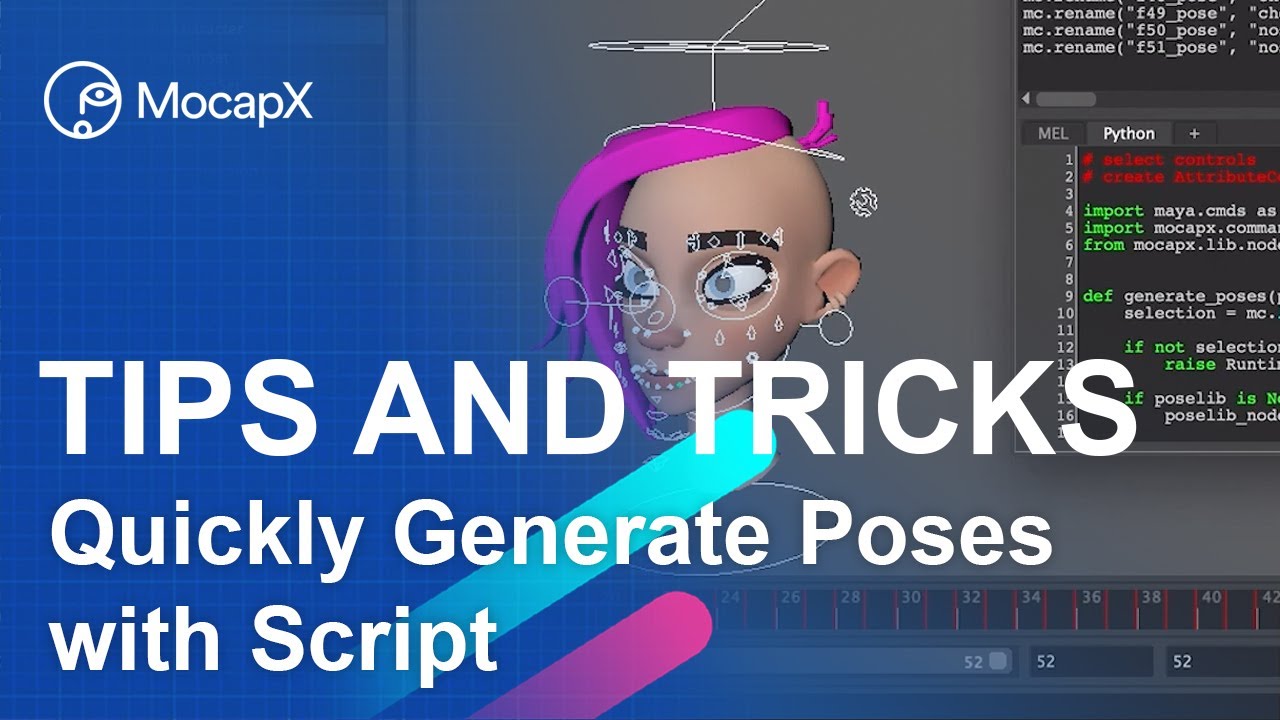
Then we will use our script to generate poses. First, select all the controllers for the face. Create attribute collection. Then select the facial controllers and run the script. By running the script, all 52 poses are created.
2) Next, we need to delete all the keys in the timeline.
Then we can see all the poses in PoseLib editor. After that, we can quickly create a clip reader. Load the clip and preview some of the animation data.
Release of version 1.1.3
We are happy to release a new version of MocapX 1.1.3 Maya plug-in.
We are introducing a new baking tool for better baking keys. Now you can baked only channels that are influenced by MocapX data. This makes the baking process significantly cleaner and we highly recommend to use new baking tool when you working with MocapX data.
Sincerely, MocapX Team
New sample data – Lucy
MocapX sample data and project files
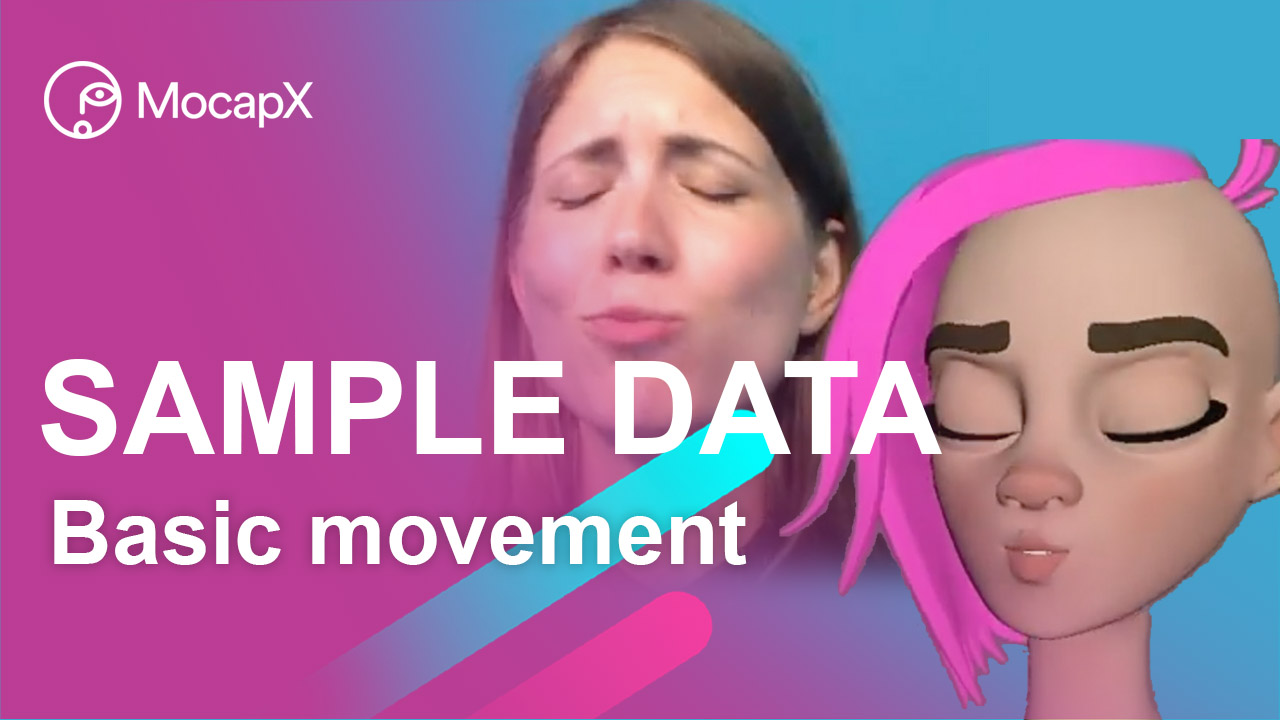
Both raw MocapX data and baked animation files are included
TUTORIAL – Eyes connection
Tutorial – How to connect MocapX facial motion capture data to the eye controller on a rig
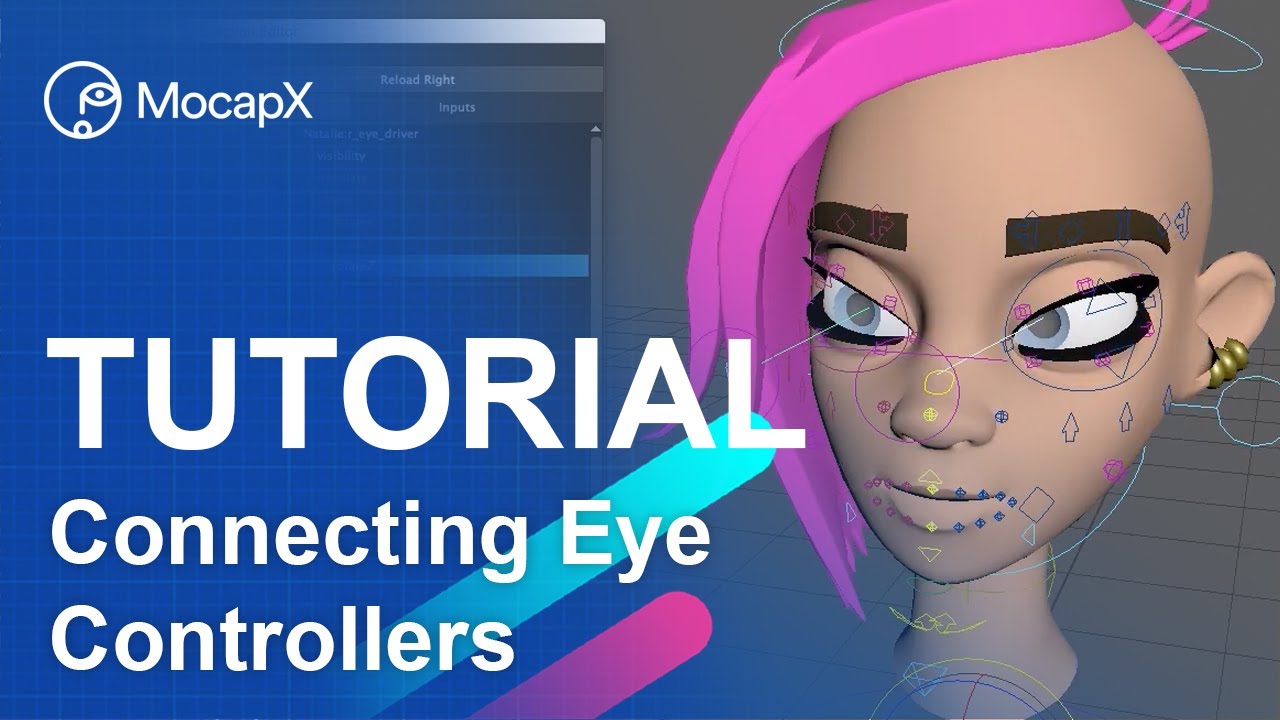
In this tutorial, we are going to take a look at how to connect MocapX facial mocap data to the eye controllers in Maya.
1) First, create a demo rig. Just click on the icon of the head in Mocapx shelf and the head rig is created in the scene. Notice that this rig has aim controller for eyes. If your rig has a different eye setup, please check our advanced tutorial on eye connection.
2) Next, create a clip reader and load a clip. Then open a PoseLib and use an auto-connect to connect all poses quickly. So now we do have an animation on the face. Now let’s open the connection editor. On the left side, we are going to load a clip reader. We are going to scroll to the eye rotate attributes. These attributes are responsible for eye movement.
The problem is that a rig has aim controls that have only translate attributes. So what we need to do is to create a locator that will help us to transfer the animation. If we look at the outliner, we already have a locator in the scene. So If we select the locator and rotate with it, the aim controller is moving as well.
3) Next, let’s delete these locators and start from scratch. Create a locator and give it a name. Move it into the center of the eye and adjust its size. Now we need to select the locator – shift select the aim controller for the eye, and then we go to parent constraint -> option box -> let’s restore to defaults and uncheck the rotation. So now if we rotate the locator, we are also moving the aim.
Let’s do it the same for the other eye. Duplicate the locator and create a constraint. Now we need to take both of these controllers and group them. Then we need to select the head control and shift select the group with locators and do parental control, but this time we want to do translate and rotate. So now when you move with the rig, the locators follow. The last step is to load the locator on the right side of the connection editor. And then we connect the rotation attributes from a clip reader to that locator. Let’s do it for the other locators as well. And now we have movement of the eye. So let’s add the head rotation. Load the head controller in the connection editor and connect head rotation from clip reader to the head controller. And now we have both head and eyes movement.
TUTORIAL – Head connection
Tutorial – How to connect MocapX data to head controller on rig
TUTORIAL HEAD CONNECTION – Connecting MocapX facial motion data to the head in Maya
In this tutorial, we’re going to show you how to connect MocapX data to head rotation and translation.
1) First, create a demo rig by clicking on the head icon on the shelf. Then create a clip reader and load a clip. Now open a PoseLib editor. Use auto-connect to connect all poses to clip quickly. Now we have animation on the face, but we need to add the rotation and translation for the head.
2) Let’s open the connection editor. On the left side, we’re going to load the clip reader, and on the right side, we’re going to load the controller for the head.
Select the one that is responsible for head rotation. Now connect the rotations from clip reader to the controller. Now the rotation of the head works.
3) The next step is to connect the translate of the head. Let’s select the controller and connect the translate from the Clip reader. Now you can see that we have the movement of the head.
In this case, the motion is really small. So let’s make it bigger. First, we’re going to bake this controller. In graph editor, we’re going to scale the curves. By doing this, you can control the amount of motion. Also, you can do the same for rotation.
VIVALDIANNO RELOADED
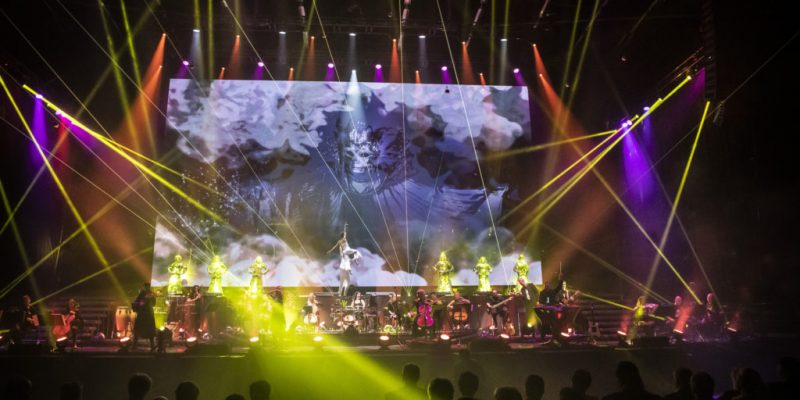
Visual effects company PFX used facial motion capture solution from MocapX for delivering animation content to the world renowned show Vivaldianno Reloaded. Breath-taking multi-genre show spearheaded by composer and producer Michal Dvořák. The task was to create nearly twenty minutes of animated content in three weeks, which would have taken several months without the MocapX. But it simply had to be done, as the revamped premiere of a world renowned show was at stake.

Michal Dvořák, Composer and Producer
Michal:
Vivaldianno Reloaded is a slightly different take on your average multimedia show, using modern arrangements of Antonio Vivaldi’s classical music. I think that it also draws heavily from the story written by Tomáš Belko. What makes Libreto so captivating is that it tells the story of Vivaldi’s life through the eyes of his contemporaries and friends and others who played a role in his life. We discovered that merging this story with modern arrangements and the visual element, consisting primarily of animations which complement the music or tell their own story, resonates very well with audiences all over the world. We’ve played in South America in Buenos Aires and Santiago de Chile. We’ve played in Asia, including five back-to-back concerts in Seoul in the city’s largest concert hall for 4500 people. We played sold out stadium shows in Israel. We’ve played almost everywhere, proving that this concept that we dreamed up together is intriguing for audiences, as it gives them the chance to see something they’ve never seen before.

Jiří Mika – Producer and Partner PFX
Jiří:
About three weeks before the premiere, Michal wrote us that their supplier was not able to deliver and that they still needed some animation content for Vivaldianno. MocapX saved us a huge amount of time, meaning we were even able to re-take some of the shots and make the necessary edits. This was only possible because the entire application works in real time, meaning we were able to preview animation directly on rig in Maya and showcase to client how the finale result will looks like. We managed to record the entire 16 minutes worth of content in just two afternoons. Without MocapX we would have had to turn down the job.
Michal:
I thought it was fantastic how quickly everything was done. It really came to show that this technology could save a show just three weeks before the premiere. It was very well received. The audience was thrilled. We had never had such a positive reaction to our show on the local scene before. The most important thing for me is that the people who flew from all corners of the world were impressed with the show.
