New bulk MocapX data copy feature

mocap data bulk copy

With the new version, you can now connect your iPhone to your computer and copy all MocapX files at once directly to your hard drive. To do this on

MacOS
Open the Finder or the File Explorer -> go to your iPhone -> scroll to tab FILES, select the MocapX app and then drag and drop the folder “saved_files”.

Windows
Open the iTunes-> go to your iPhone -> scroll to tab FILES, select the MocapX app and then drag and drop the folder “saved_files”. 


Download our Maya plug-in, the MocapX app, and start your next motion capture project now!

New MocapX LEARN section

facial mocap learn area

Get to know more about working with the MocapX app.

We’ve put together a complex page with all information that will help you using the MocapX app and the Maya plugin for rig connection. 

We included answers to the most common questions from our users and the MocapX community. The LEARN area will guide you through the process from A to B. Everything from the hardware requirements to Maya rig connection is now included in one page.  We plan on adding more content as we go, so please don’t hesitate to tell us on what topic you would like to learn more.

Are you ready? Check out the LEARN page now!


Local recording and storing mocap data

mocap local recording

Get to know more about recording your facial mocap data locally with MocapX.

MocapX allows users to stream facial motion capture data to Maya. This happens in real-time and the data are stored and transferred to rigs and models in Maya.

The new MocapX 2.0 now allows you to record data locally as well. This means that you don’t need to have a computer present with Maya running. All you need is an iPhone or iPad to record all your data. This is extremely handy in situations like voice recordings, on stage recordings and other cases where your computer isn’t around.


facial motion capture data

So, in the application, go to the second tab called Recording. Hit record and perform an action. Once you’ve finished your recording, the video and data will be saved. When you click on the folder icon, you will find a list of your recordings. 

Then, click on the share icon and both the video and data will automatically be sent to your computer. Note that the video is captured without a 3D mask so that the captured performance can be accessed for future use if necessary.

Get MocapX – the facial motion capture app! 

TUTORIAL – mocap data connection with PoseBoard

mocap poseboard data connection mocap

Tutorial – We’ve introduced a new pose editor to MocapX 2.0 called PoseBoard.

We’ve introduced a new editor to the previously announced MocapX 2.0 called PoseBoard. In this tutorial,  we are going to explain why it is useful and how to use it. 

When you open our demo character Lucy in Maya, you’ll see a full rig and a lot of controllers.

So what we want to do here is select all of the controllers and add them to our Attribute Collection. We can start by hiding everything and showing just the controllers. Let’s select all of them and create an Attribute Collection by clicking on the icon on the shelf.

Now if we opened the Poselib editor, we would typically have to go to our online documentation, find the pose we want to create and then go back to Maya and recreate it. This would be a tedious process as you would need to constantly switch back and forth between Maya and your browser. So for MocapX 2.0 we came up with PoseBoard to make things easier.

So let’s go back to Maya. Open PoseBoard from the Shelf. Now what we see is a list of all the expressions that are currently tracked and supported by MocapX and that can be matched to your rig or model using Blendshapes.

In the PoseBoard editor you can go through all of the poses, see how they look and easily create them. So for example let’s create eyeBlink Left. First, find the pose. Then, adjust the rig so the character has their left eye closed. And now simply click on the add button.

poseboard mocap data editor

Now when we open the PoseLib editor we can see that our first pose is there. We can test it by moving the slider to the right. 

We can continue by creating the rest of the poses. As you can see in PoseBoard, once a pose is created it turns grey. This indicates that the pose is already on the PosLib list. If we delete the pose from the PoseLIb editor, it will turn on again in PoseBoard.

So let’s fast forward and jump to a scene where all the poses have already been created. Now all we have to do is simply create a realtime device, connect to your iPhone or iPad, click auto connect in PoseLib and we are live streaming the motion capture data.

Download MocapX 2.0 and the MocapX app now!

MocapX 2.0 update – local mocap data save, new trial option, and updated Maya plugin!

facial motion capture maya plugin

We’ve worked hard in the last couple of months on making facial motion capture process better for our customers. With version 2.0 of MocapX, we are bringing you new features in the iOS application as well as in the Maya plugin. We’ve included the three most requested features by the animation community. 

Local data storage and trial/demo feature

In MocapX 2.0 app, you can record facial motion capture data locally without the need for streaming directly to Maya. This is an essential feature in situations like recording sound with a voice actor. Now you don’t need to bring a computer with Maya installed for the recording session. You can store all your facial data on your iPhone and use it later in Maya. With this new functionality, we are able to let our new users test the application in trial mode. Now you can record up to 30 seconds of facial mocap data before deciding to buy the PRO version.

facial mocap iphone

Updated Maya plugin
In the Maya plugin, we are introducing the Pose Board feature. This enables you to see the description of all required poses for matching a 3D character expression to actor expressions. As a result, it is even easier to prepare your character for motion capture. 

facial mocap maya plugin
facial motion capture maya plugin

Subscribe to our newsletter

TUTORIAL – MocapX PoseLib Editor

Tutorial – Learn how to use the PoseLib Editor for complex facial mocap

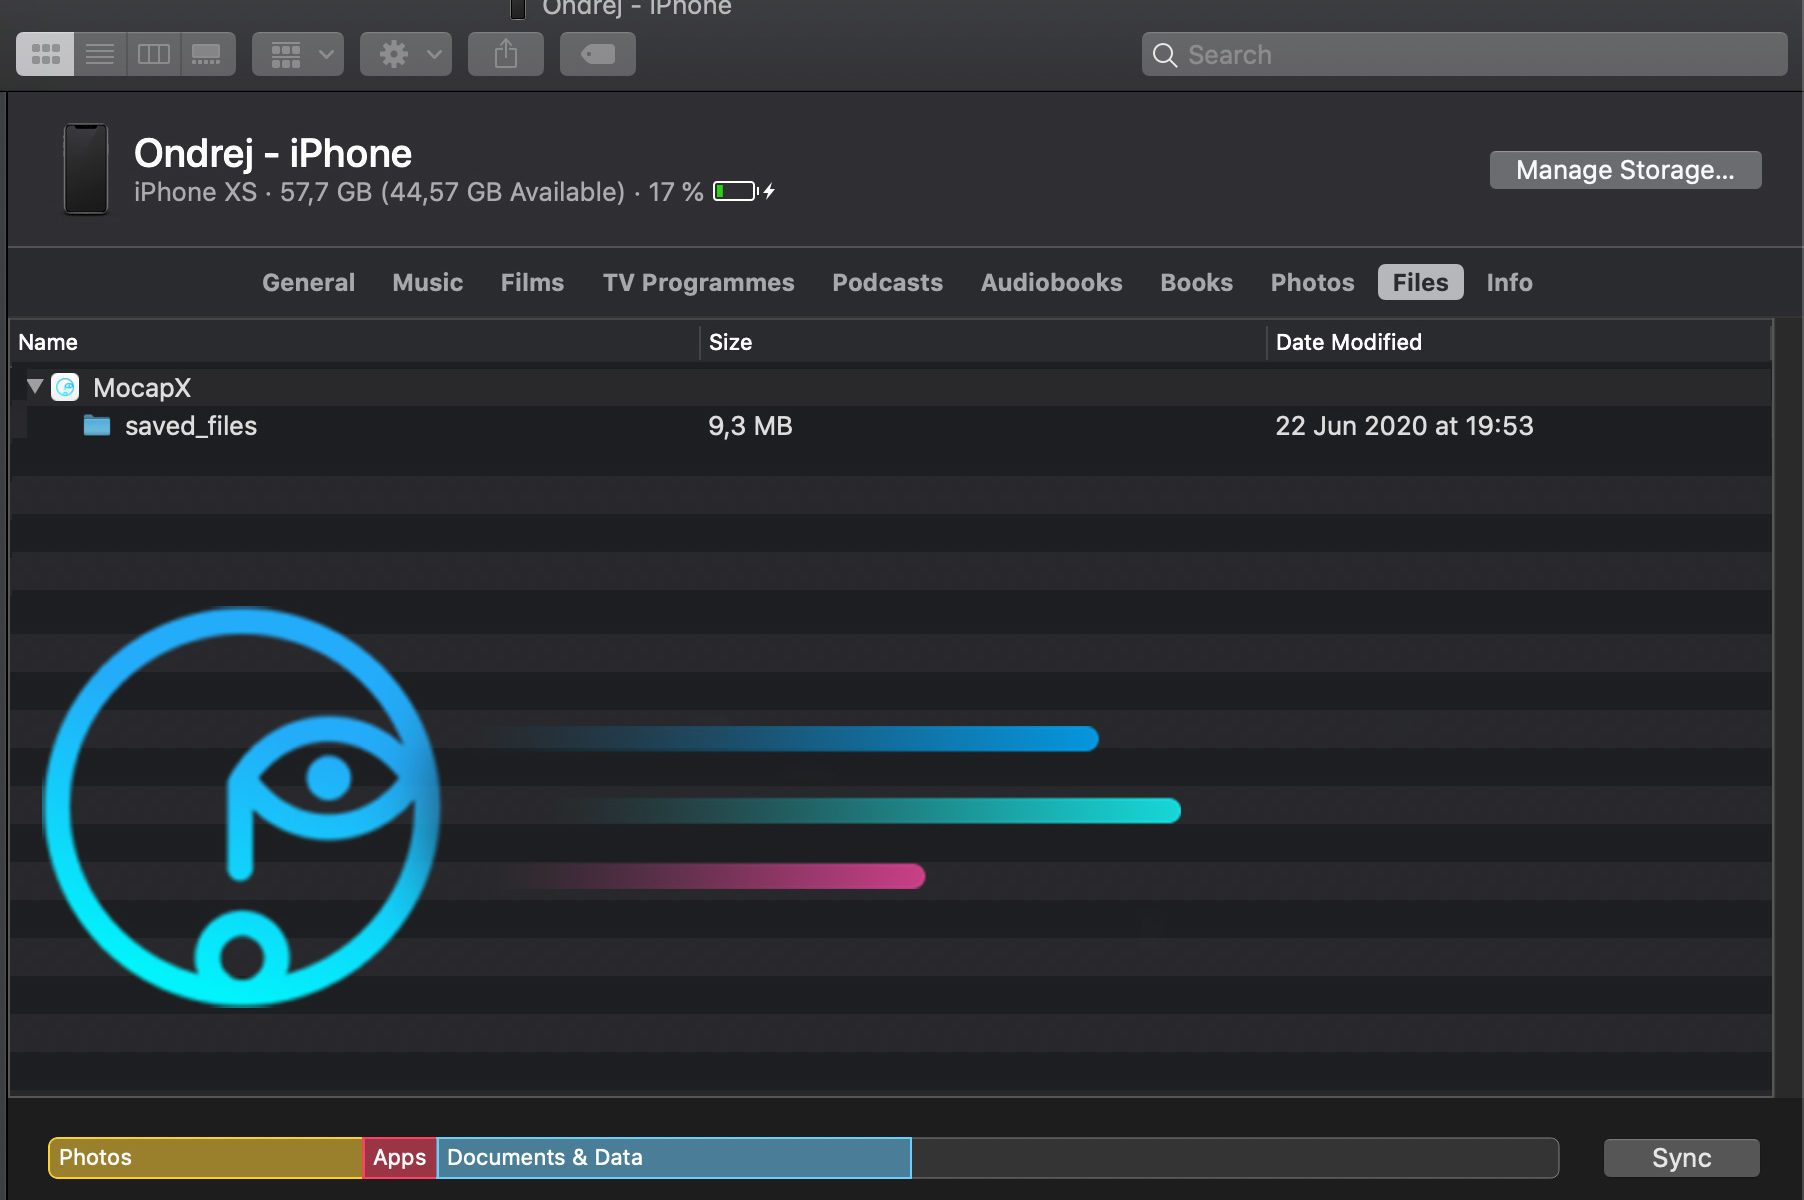
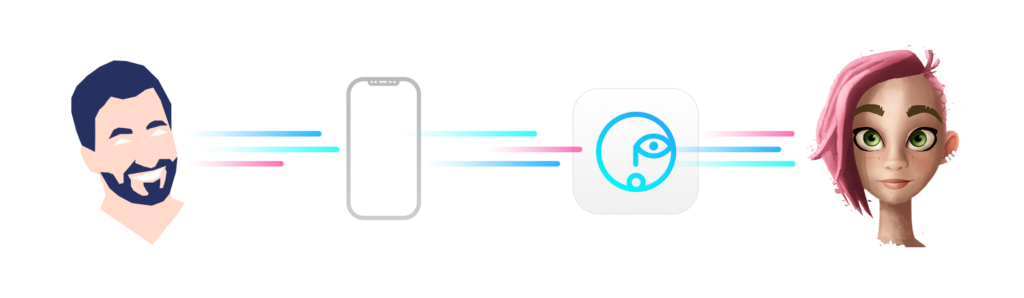
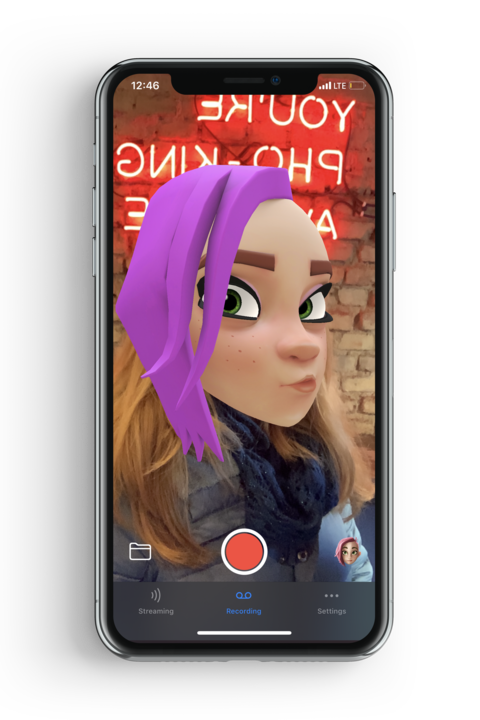
The MocapX facial mocap can be used with any Maya rig.

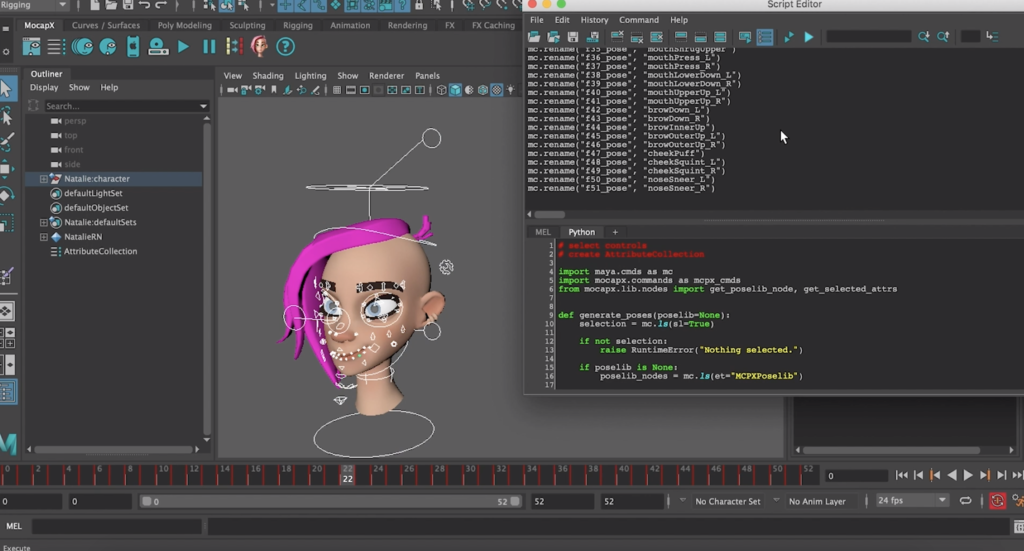
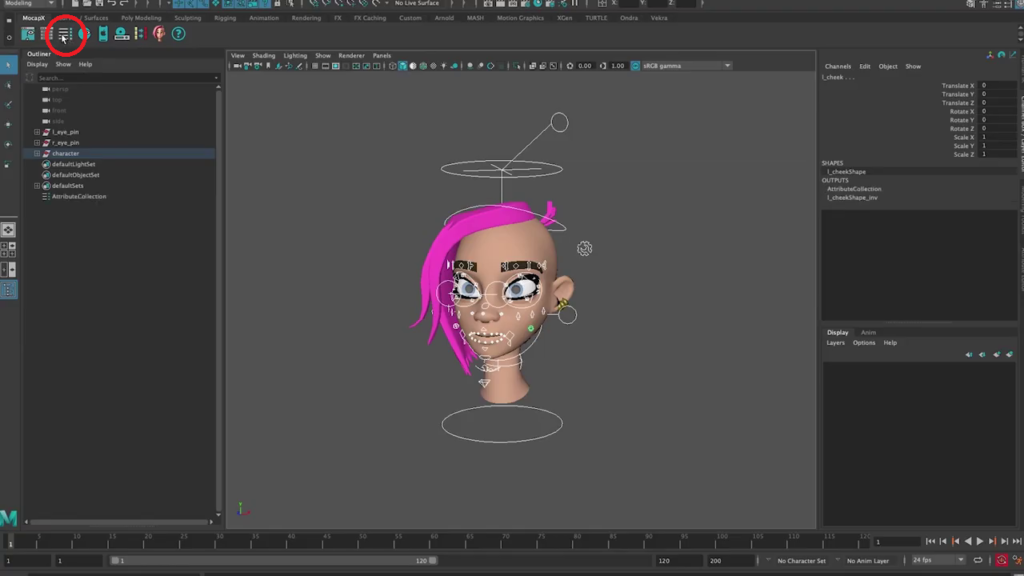
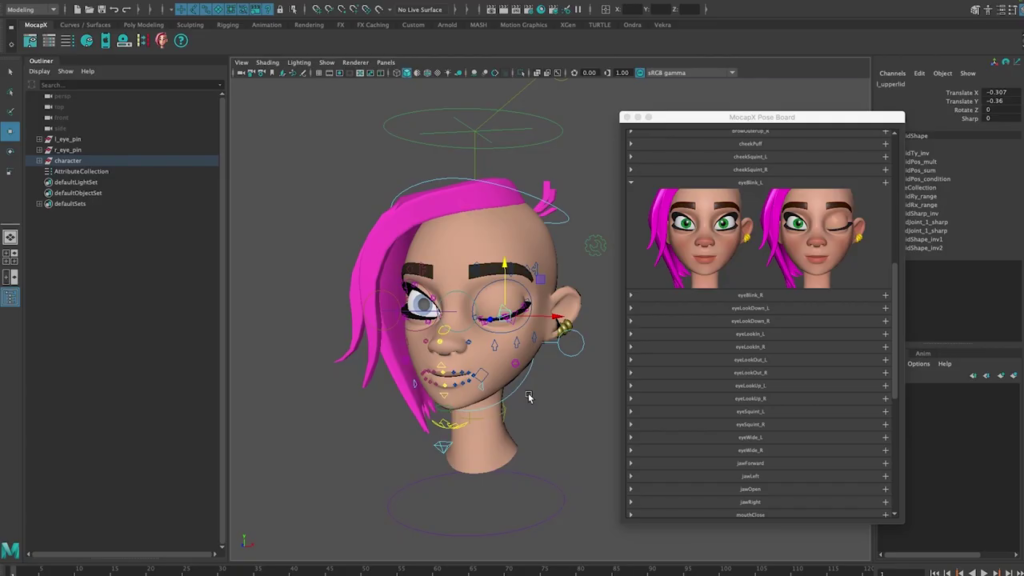
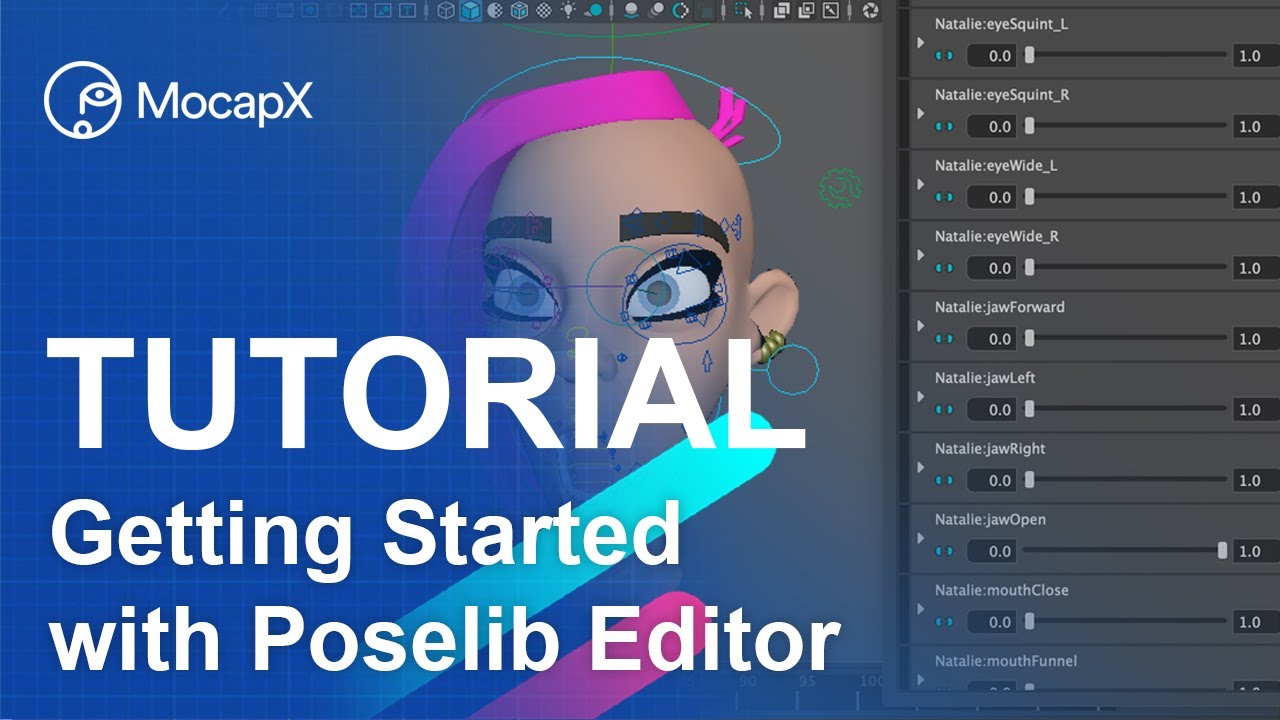
To create a more complex connection, MocapX uses its own PoseLib editor.
In PoseLib editor, you can create a pose similar to a blendshape but created from the controllers. These poses are then driven by the data from the iPhone.

1) First, open a PoselIb editor. Then select all the controllers for the character and create attribute collection. Then we are going to shape the pose and hit the pose button.
Then the pose is created and we can see the pose by scrubbing from 0 to 1. We can also tweak the pose by going to the extreme. Tweaking and then updating the pose.

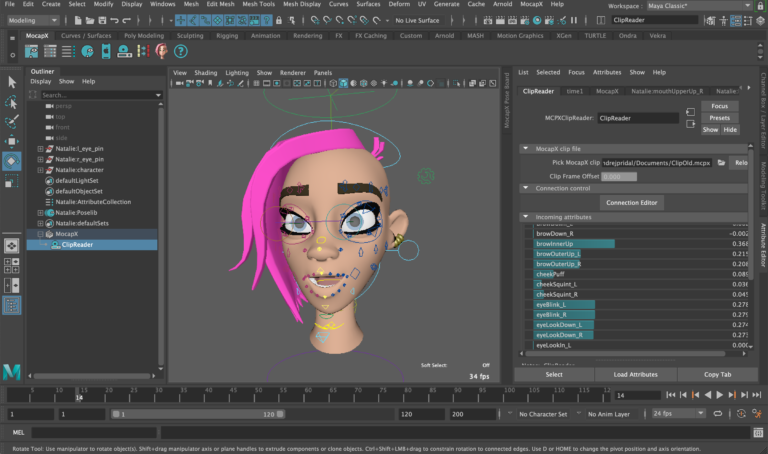
2) Then we can create Realtime Device, and we can connect the jaw open attribute to that pose that we just created.
And now by opening the jaw, we are moving with the pose and simply animating the character to open the jaw as well.

For more complex facial animation, you need to set up up to 52 facial poses to match the iPhone data. To see the description for each expression, please see our documentation.